Growing up in our family we had many mushroom picking adventures. It was a day that my parents gathered all of us children (4) and packed a picnic lunch, some homemade Atvar ( fruit juice), pickled eggs, cheese, homemade bread and more. Off we went for the day to pick the mushrooms that were in season. We picked certain kinds in the Spring and others in the Fall. Memories of this time in my life always make me smile. My brother and sisters and I had fun running in the mountains, playing in the streams, picking berries along the paths and just being children. My Mother or Father would point out the mushrooms that we were there to find, and once we got older we were then able to help pick the mushrooms. After the picking we head back home to clean and process them for either pickled or canned to use for meals later in the year. A favourite of our family was corral mushrooms sauteed in a bit of butter with onions and garlic and sliced potatoes, any leftovers were scrambled the next morning with eggs. I am slowly learning what species and what time of the year mushrooms grow here on the West Coast rain forest of BC. In the last 5 years I have managed to find Shaggy Manes, Puff Balls and Morels and a few Coral mushrooms on a hike one day.
Last night my daughter Anastasia asked me to cook up one of her favourite dishes, Stuffed Portobello Mushrooms - these are stuffed with mozzarella, artichokes, Parmesan cheese and more.
PORTOBELLO MUSHROOMS STUFFED WITH ARTICHOKES

Dinner of Artichoke stuffed Portobello Mushroom
with a side of pearl couscous.

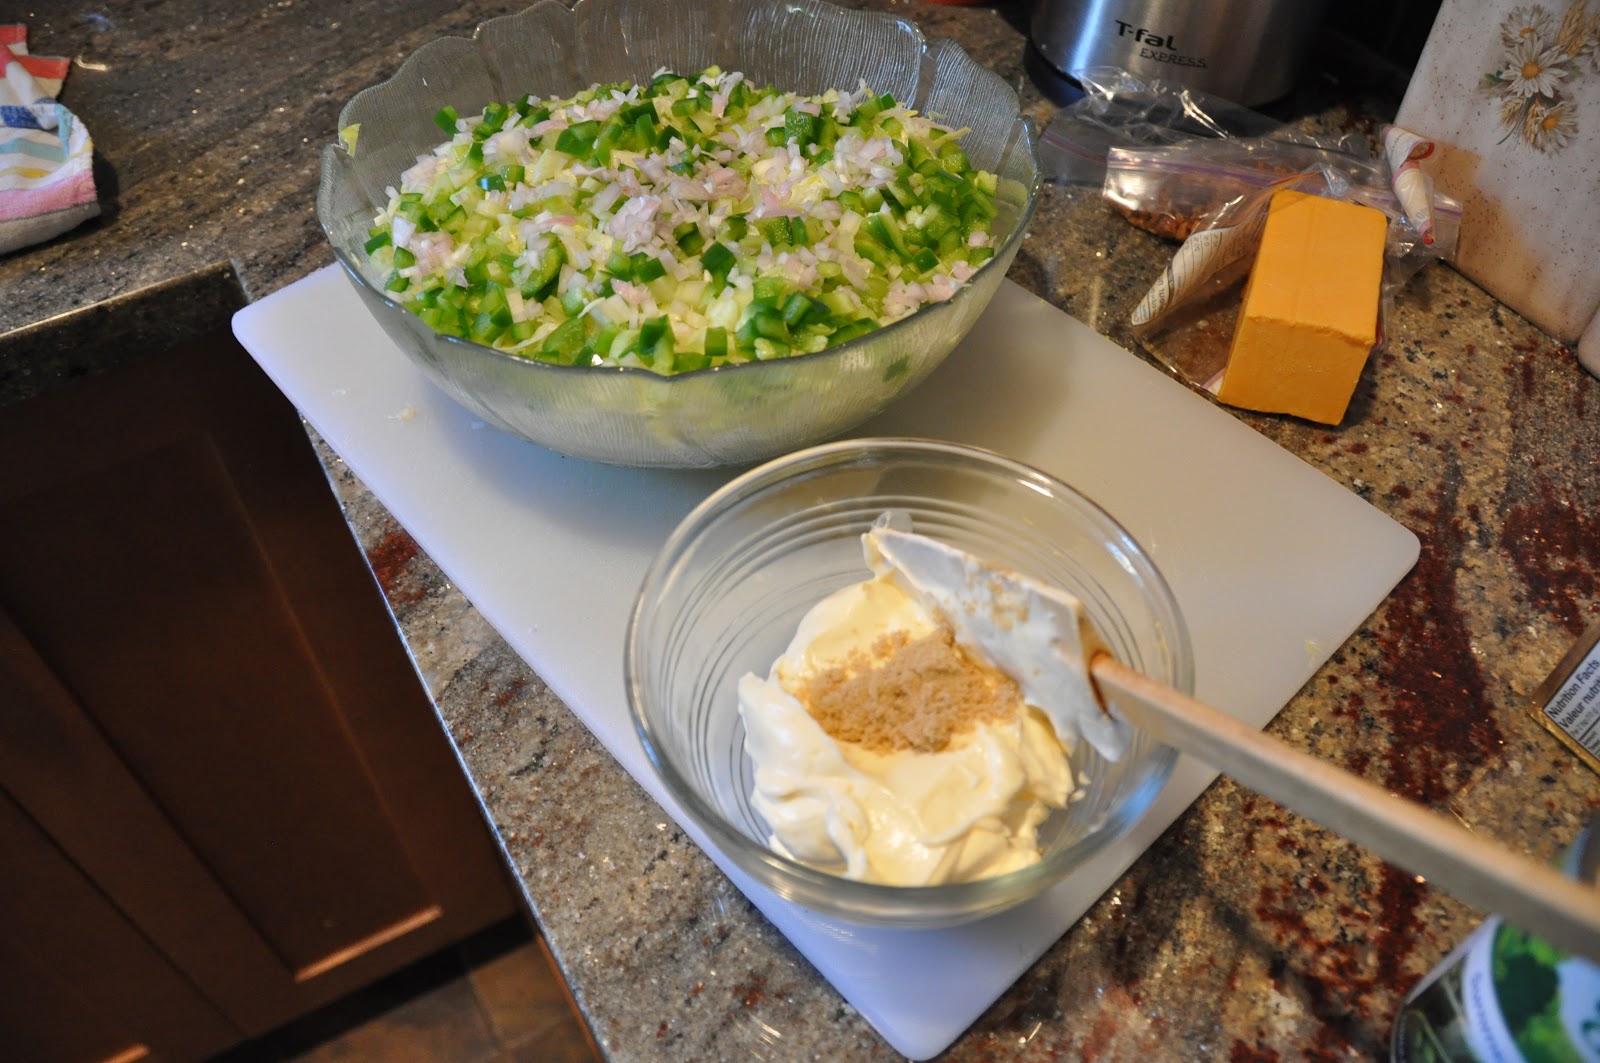
Ingredients you will need.

Sauteed onion, garlic and mushroom stems

Delicious just like this....smells so good already.

Cream cheese, sour cream and mayonnaise added.

Shredded cheeses and Boursin cheese added and mixed,
ready for stuffing into the Portobellos.

Almost there.....

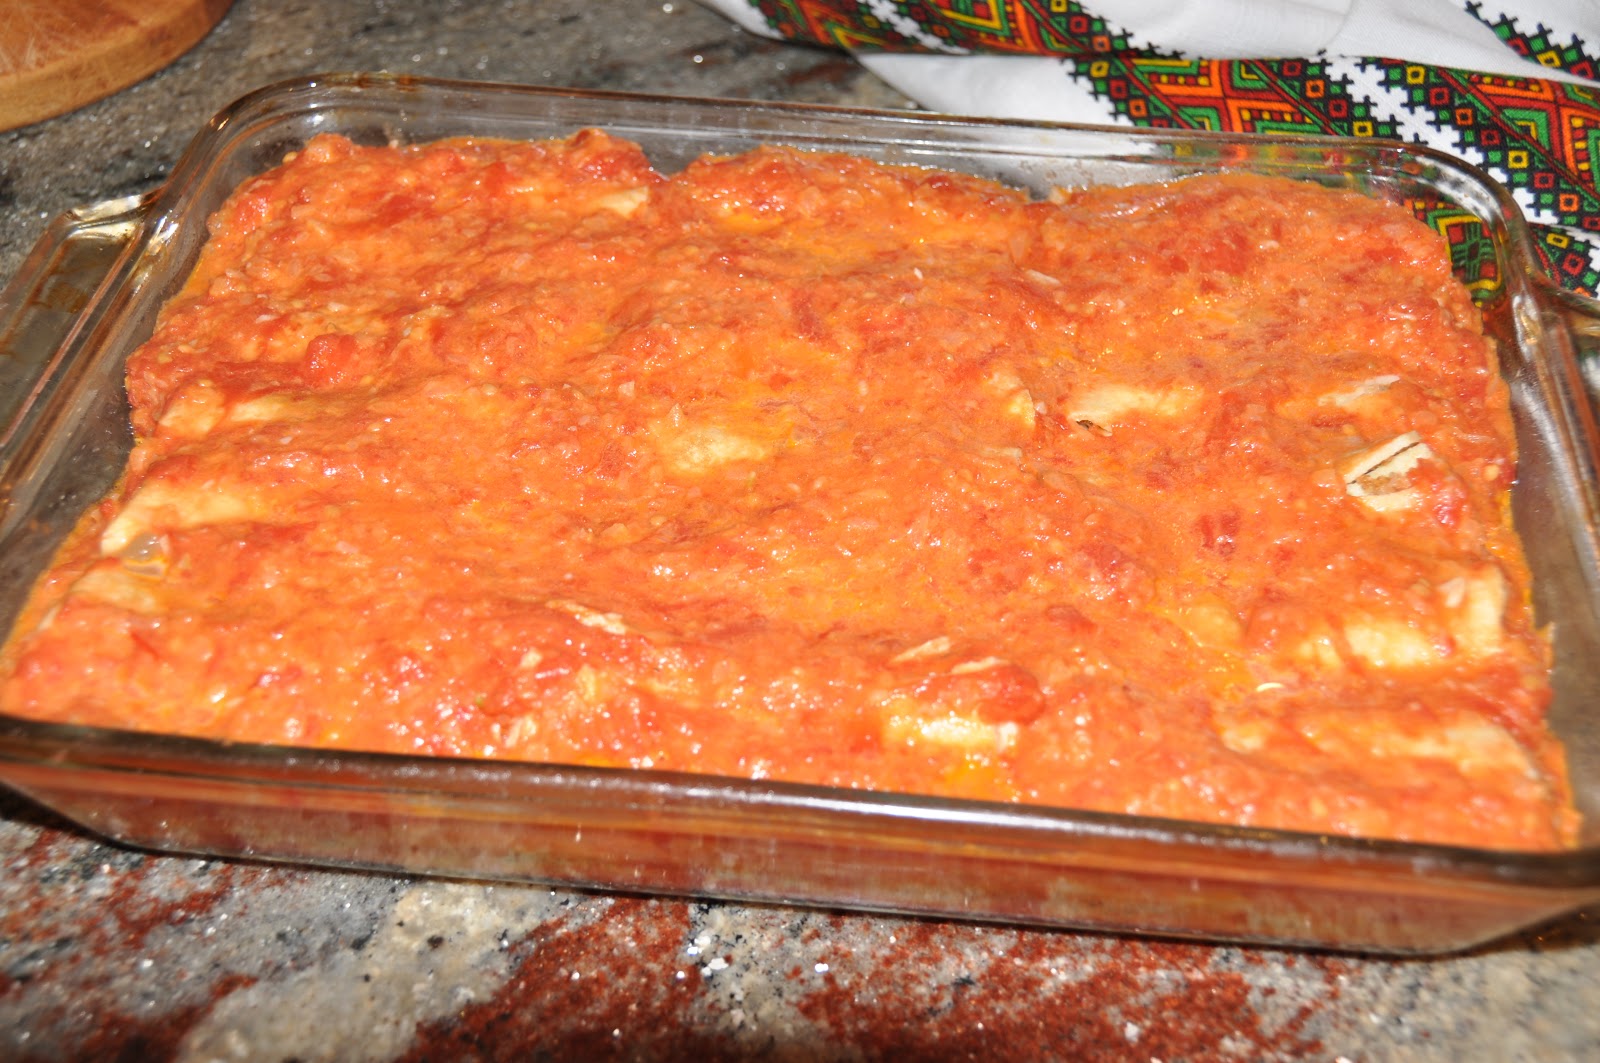
Top with thinly sliced tomatoes and more mozzarella
or Parmesan
STUFFED PORTOBELLO MUSHROOMS
5 Portobello mushrooms
1 can artichoke hearts (not marinated), chopped
1 cup mozzarella cheese, grated
1/4 cup Parmesan cheese, grated
2 Tbsp cream cheese (I use light)
3 Tbsp mayonnaise (I use light)
1 1/2 Tbsp Boursin cheese (herb & garlic) - optional see note below
2-3 Tbsp sour cream (I use light)
1-2 Tbsp butter or olive oil
1 medium onion, diced
2 cloves garlic, minced
Tabasco sauce, to your taste
Salt, pepper to taste
Remove stems from the Portobellos, and chop finely. Place the mushroom caps on a greased
cookie sheet, set aside.
Make filling by chopping and sauteing the onion and garlic in the butter,
add the mushroom stems and saute another 3-4 minutes. Cool slightly.
Meanwhile in a large bowl, combine the shredded cheeses, sour cream, cream cheese.
Add Tabasco and the cooled mushroom/onion/garlic, artichoke hearts
Season to taste with salt and pepper
With a spoon top the Portobello caps with the filling, top with thinly sliced tomatoes.
Sprinkle with either more mozzarella or Parmesan cheese.
Bake at 350 degrees for approximately 30 minutes.
Serve with either couscous, rice or potatoes and a side salad.
*Note: I used the Boursin - had some left over from Christmas Day
Love
to make your memories brighter...
Peace
to make your heart at rest...
Joy
to make your celebration wonderful and really blessed.
to make your memories brighter...
Peace
to make your heart at rest...
Joy
to make your celebration wonderful and really blessed.
Happy New Year


