Saturday, December 5, 2015

Bean Minestrone Soup

 The smell of bread baking this morning reminded me of this Bean Minestrone Soup that is one of my family's favorites.  The soup is light but hearty and is a perfect match for the No-Knead Bean Bread, great for lunch or a start to dinner.  Add in the vegetables your family likes and everyone will leave the table will a full belly and enough protein to last the whole day.

 Bean Minestrone Soup

The ingredients you will need.

Vegetables chopped, diced and minced.

Into the pot to be sautéed.

I added my assortment of fingerling potatoes from my garden.

Tomatoes are added to the simmering pot.

Oregano and basil (From my garden - I dried and ground it)

Water is added to finish the soup.....more simmering is required.


Beans are added along with the final ingredients.  Smells amazing!

Ready for sampling, sprinkled with some freshly grated Parmesan Cheese.

All you need is some fresh bread and butter.

BEAN MINESTRONE SOUP RECIPE
2-3 Tablespoons Olive oil
1 large onion, diced
1 carrot, diced
1 stalk celery, diced
1 small (6 inch) zucchini, diced
2 tomatoes or a (14 ounce) can diced tomatoes, do not drain
1 large potato, diced
3 cloves garlic, minced
8 cup water
3/4 cup small pasta
1 teaspoon dried oregano
1 teaspoon dried basil or 2 Tablespoons fresh
1 can kidney beans, rinsed and drained (or beans of choice)
1/4 cup grated parmesan cheese
1/2 cup fresh parsley, chopped
salt and pepper to taste
white wine vinegar (optional) I like a tang to my soup so add to taste
In a large pot, cook onion for 3 minutes, add carrot, celery, zucchini, garlic and potatoes.
Simmer for 3 minutes then add in the tomatoes and cook another 3 minutes.
Add the water and bring to a boil, add in pasta, basil and oregano and simmer uncovered until pasta is tender but firm and vegetables are cooked.  I add a parmesan rind in this step to add more flavour to the soup (and it's a good way to use the last bit of cheese on the rind) remove at the end.
This will cook another 12-14 minutes. Stir in the beans and bring back to a simmer for another 5 minutes, and season with salt and pepper to taste.  This is where I add some white wine vinegar for the added 'tang' that my family likes.
Serve with more grated parmesan cheese and red pepper flakes along with bread and butter.
Enjoy!

'May God fill your heart with much LOVE, your soul with PEACE, your mind with WISDOM, your body with GOOD HEALTH, your days with WONDERFUL MEMORIES, your family with HAPPINESS, and your life with TRUE CONTENTMENT.'

No-Knead Bean Bread

Baking bread on a windy and rainy morning is a very good thing.  The house gets warm, the smell of baking bread makes the whole house a wonderful place to be.
This recipe was shared with me by Chris, one of my bread baking students. This is from the Baking with Beans cookbook. A simple and easy dough to work with especially if you have never baked bread.  I encourage everyone to try this recipe, the beads give this bread added protein, because of the slow rise it has a wonderful texture.  Chewy, crispy crust (even after sitting for two days) it is great for those who need 'more' substance in their toast or sandwich -  I find it keeps me full longer.
Go ahead - be brave - impress your family and friends with your baking skills.
Thank you Mom for reminding me to never give up......

No-Knead Bean Bread


The ingredients you will need.

Beans and water blended and ready for the dry ingredients.

Flour, yeast and salt

Wet and dry ingredients combined, mix with a spoon.

The dough ready to be covered and left overnight.

24 hour later....bubbly .....ready to go.


Tea towel sprinkled with flour


Dough is folded and ready for the floured tea towel.

Cover and leave for another 2 hours.

Two hours later.....ready for the hot baking dish.

'Dumped' into the hot baking dish, oven heated to 450 degrees.


No- Knead Bean Bread hot and crispy straight from the oven.

No-Knead Bean Bread Recipe

1 cup canned white beans, drained and rinsed (half a 540ml/19 0z. can)
3 cups all purpose flour or half whole wheat, half white, plus more for dusting
1/2 teaspoon active dry yeast
1 teaspoon salt
(I used Romano Beans a I like the colour it gives to my bread)

Put the beans and 1/2 cup water into a food processor and puree until smooth.
In a large bowl, stir together the flour, yeast and salt until blended: the dough will be shaggy and sticky.  Cover the bowl with plastic wrap or a plate and let it rest on the counter for 18 to 24 hours at room temperature.

The dough is ready when the surface is showing lots of bubbles.
Flour the counter and place the dough on it; sprinkle with a little more flour and fold it over on itself once or twice, then shape into a ball.
Generously coat a cotton towel/dishcloth (smooth one as dough will stick to a terry cloth one) and dust with more flour. Fold the towel over the bread and let sit for another hour or two

While the bread is resting, preheat the over to 450 degrees. Put a 6-8 quart heavy covered pot (cast iron, enamel, Pyrex or ceramic) into the oven as it heats.

When the dough is ready, carefully remove the pot from the oven.  Slide your had under the towel and flip the dough into the pot; it may look like a mess, but that's okay. 
Cover and bake for 30 minutes, then remove the lid and bake another 10-15 minutes, until it's crusty and golden.

'Make your Anger so expensive, that no one can afford it, and make your Happiness so cheap,
everyone can get it for FREE.'


Wednesday, December 2, 2015

Bread Baking Lesson......San Fransisco Sourdough

Baking bread....something I really love to do.  My friend John asked me for a bread baking lesson last year and we finally managed to get the lesson done!
John brought Chris and their friends Johanna and Colin.....what great 'students' they were.  Fun times in the kitchen and new friends in my life. 


John in the background with Johanna and Colin shaping their bread dough.


 Chris working on her bread shaping skills.
John, very pleased with his bread.

 Such concentration......well done!

Colin and Johanna with their beautifully shaped dough...ready to take home and bake.


John's nicely shaped bread......to be baked off at home.
Chris is very happy with her dough.....as you can see by her smile!
Thank you for a lovely morning....full of learning and laughter.
The is the recipe we used.

 San Francisco Sourdough Bread Recipe
2 cups warm water
6-8 cups flour (this will depend on how thick your starter is and altitude)
1 cup sourdough starter
2 teaspoon salt
2 teaspoon sugar
1/2 cup water
1/2 teaspoon cornstarch
In a large bowl, combine the water. sourdough starter and 4 cups of flour.
Mix well and cover with plastic wrap in a warm place 8-12 hours (I leave mine overnight)
The next day stir in the salt and sugar and add flour 1/2 to 1 cup at a time to make a very stiff dough.
Knead until smooth.
Cover and let rise 2- 21/2 hours. (I have let mine rise 3 hours)
Punch down and divide in half.
Knead until smooth and form into rounds. Place on greased baking sheet. Cover lightly and let rise until double and puffy (1-11/2 hours)
While this is rising mix the 1/2 cup water and 1/2 teaspoon cornstarch in a small bowl and microwave until boiling. Remove and let cool.
Heat oven to 400 (F) degrees
Carefully place a small plan of hot water on the bottom rack in the oven.
Cut two slashes across the top of each loaf.
Bake for 10 minutes.
Pull out the rack and baste each loaf well with the cornstarch mixture.
Close the oven and bake for another 20-25 minutes. Loaves should be light golden colour and sound hallow when tapped on the bottom.
Let cool 2 hours before slicing (if you can wait that long - we wait 30 minutes)

Sunday, November 8, 2015

Wild Rice and Mushroom Casserole

  Casseroles are like old friends.....warm, comforting and oh so good to have in the home.  This recipe was shared with me by my friend Cecille...she first served this at a lunch I shared with her while living in Prince Rupert.  Simple, quick to put together and very filling. 
If you like mushrooms, you will love this recipe. 


Wild Rice and Mushroom Casserole

The ingredients you will need.

The wild rice is cooked and drained.

The mushrooms sautéed along with the rest of the ingredients.

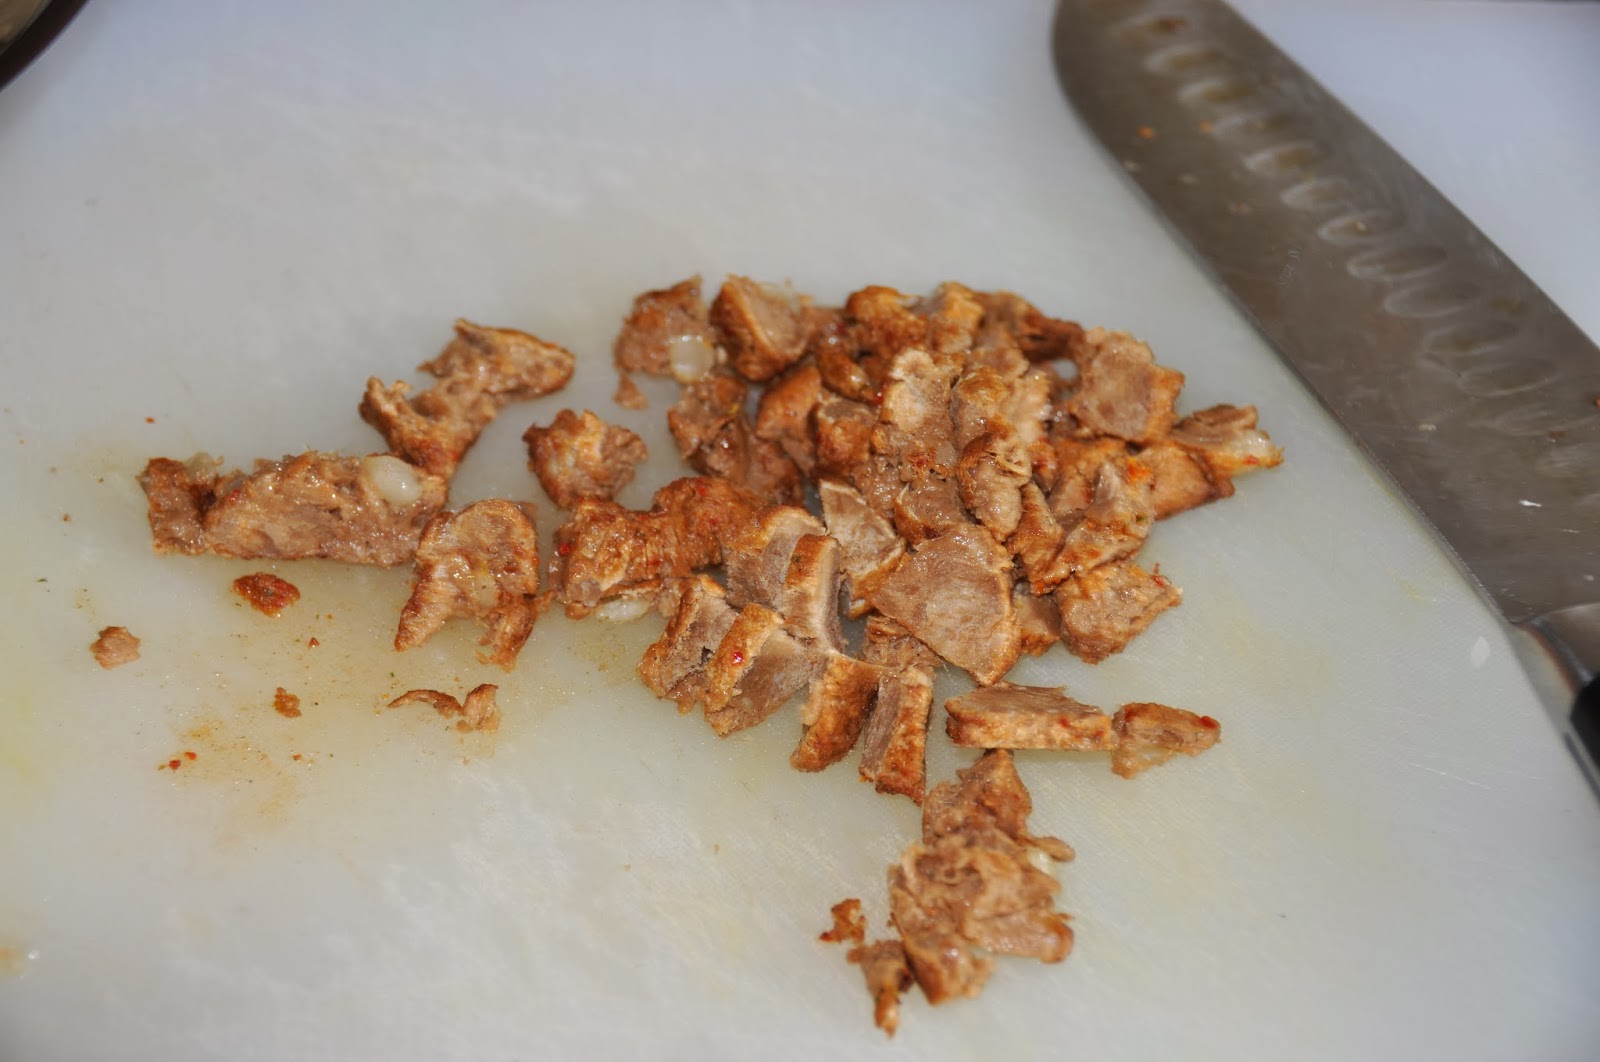
The extra added vegetarian protein, chopped and ready to be added to the mix.

I used this vegetarian protein but any favorite will do.

The mushroom mixture all simmered and ready for the wild rice.

All ingredients are stirred together and ready for the casserole dish.

Almonds are added to the top and it is ready for baking.

WILD RICE AND MUSHROOM CASSEROLE RECIPE

2/3 cup wild rice
1/2 teaspoon salt
3 cups boiling water
1/4 cup onion, chopped
1 cup mushrooms, sliced
1/2  cup vegetarian protein (optional)
2 Tablespoons butter
1 Tablespoon flour
1 cup vegetable stock\
pinch of salt
1/4 teaspoon pepper
1/4 cup almonds (sliced) or slivered

Preheat oven to 350.
Wash rice and cook in boiling water for 30 minutes. Drain and set aside.
Saute onion and mushrooms in butter until onions are translucent.
At this point you can add any vegetarian protein you like (optional).
Blend in flour and cook 1-2 minutes, add vegetable stock stirring to make a smooth
sauce and sauce has thickened.  Add the salt and pepper to taste, stir in the cooked wild rice.
Pour into a greased 1 quart casserole dish, sprinkle with almonds. Cover and bake at 350 for 30 minutes.
Serves 4 large servings or 8 smaller portions.

'If I could give you any gift, I'd give you Love and Laughter, a Peaceful Heart, A Special Dream and Joy Forever After.'


Monday, October 5, 2015

Leona's Chili Sauce

Mothers....they are the root of a family...the first heartbeat you hear is your Mother's....the first touch you feel is your Mother's.   They teach us so much while we grow and even after we leave the 'nest'.  They continue to guide us even when their address changes to 'Heaven'.
My tomatoes are ripening very nicely and I was looking for something just a little different to use them in.  This recipe was shared with me by my friend Kathy....thank you.
It was given to Kathy by her Mother ...Leona.....who's address is now 'Heaven'.
We never really lose our Mothers because they are always with us, guiding us through each day....in our daily routines. I find my Mother's presence while in my kitchen, working in my gardens and even when I walk along the beach.....honour your Mother, take time to sit and just listen to her stories....her quirks and forgetfulness is all part of 'life experiences' .... it is all filled with LOVE.


Chili Sauce

The ingredients you will need.

The tomatoes, all chopped and ready.
The tomatoes added to the rest of the ingredients ready to simmer for a few hours.

The rest of the ingredients that will be added.

Chili Sauce after everything has been added, simmered until thick.

The spice bag has been removed.

Chili Sauce served over some cheese filled pastry we had for dinner.
Serve it over potatoes, rice anything you want. It is great served on it's own
as an appetizer with cheese and crackers. Spice it up or down....it is your choice.
The sealed jars are stored in my pantry .....opened when needed!

CHILI SAUCE RECIPE
4 quarts tomatoes, peeled and chopped (approx. 16 cups/8 lbs)
2 hot red peppers, chopped fine (I used 1 jalapeño/1hot red pepper)
6-8 onions, chopped fine
3 sweet red peppers, chopped fine
5 - 6 stalked celery, chopped fine
3 sweet green peppers, chopped fine
½ cup pickling spice, in a bag
Put above in dutch oven and cook until almost dry, about 2 1/2-3 hours of simmering.
Add:
2 cups vinegar
2 cups water
4 cups sugar (can use half the amount)
1 Tablespoon each,  salt and pepper
1/2 Tablespoon  small chilies or 1/2 teaspoon cayenne.
4 Tablespoons tomato paste ( optional) I like a thicker sauce.
Let simmer until thick enough to bottle.
Pour into sterilized jars, seal and process in a water bath, 12-15 minutes


Enjoy!

'Most people are like you and me,
or the people across the street or around the world from you and me,
their hearts tell them that somewhere, somehow,
they can make a positive difference in the world.' 


Wednesday, September 23, 2015

Greek-StyleTomato Fritters

It is the first day of Fall and the skies here are grey and the air is cool, a good day to 'play' with my tomatoes. The long hot summer had my plants producing very well but I still ended up picking off many green tomatoes, both big and small and they are slowly ripening indoors. There are more than enough ripe tomatoes for experimenting with a few recipes. Greek-style Tomato Fritters are easy and delicious as a meal or a snack and also in a bun as a burger. These fritters are a good way to use up a few cups of ripe tomatoes or those that are a bit spotty, as you will be cutting them into finely chopped pieces for the fritters. Serve them with some horseradish mayo, hot sauce or Tzatziki along with a side salad......a perfect meal.

Greek-Style Tomato Fritters

The ingredients you will need.

The onion is grated.

The mint and parsley are finely chopped and smell amazing!

The tomatoes have been chopped finely and have been drained.

The dry ingredients are combined together.
All ingredients have been mixed together and are ready for cooking.
Into the hot oil they go....the kitchen smells wonderful.

Greek-Style Tomato Fritters ready for sampling.....enjoy.

GREEK-STYLE TOMATO FRITTERS RECIPE

11/2 cups, 4-5 large ripe tomatoes, finely chopped
1/2 cup feta cheese, mashed into small pieces
1/2 cup red onion, grated (or finely chopped)
2 Tablespoons fresh parsley, finely chopped
2 Tablespoons fresh mint, finely chopped
1 teaspoon dried oregano
1 teaspoon salt
fresh ground pepper
1/2 cup flour
1 teaspoon baking powder
oil for frying

Cut the tomatoes into small pieces and place in a colander with some salt.
Leave them to drain for 30 minutes.
Into a medium sized bowl, combine the drained chopped tomatoes, the onions and
mix with a spoon; add the herbs, and the feta cheese.
In a separate bowl, mix the flour with the baking powder.
Add the flour mixture to the tomato mixture and stir until the ingredients are combined and the mixture is firm enough to make patties.
Into a pan add enough olive oil to thinly cover the bottom, heat on medium high and slowly add a tablespoon of tomato mixture into pan and flatten with the spoon to form a thin patty.
Cook 2-3 minutes on each side, until nicely browned.
Place them on paper towels to absorb the extra oil.
Serve with Tzatziki, horseradish mayo, hot sauce or sauce of your choice.
You can make these appetizer size and serve as an appetizer or meal size and serve along with a salad.  They freeze very nicely so double the batch and save some for later!

'Let the healing power of your spirit run through your hand as you reach and touch another, but say nothing to the person you help. Learn to give invisibly. '
(unknown)