Holidays....whether they are Thanksgiving, Christmas or Easter it's always a time for families and friends to be together. To celebrate each other, to gather and remember to laugh and learn and of course to eat! In our house 'snacking' is always going on....and especially when the whole family is together. This recipe for Dilly Snack Mix was given to me by my very good friend Christine. My family loves it as do my friends. I encourage you to make some for your family and share with your friends....pour it into a special container and it makes a lovely hostess gift.

Dilly Snack Mix....

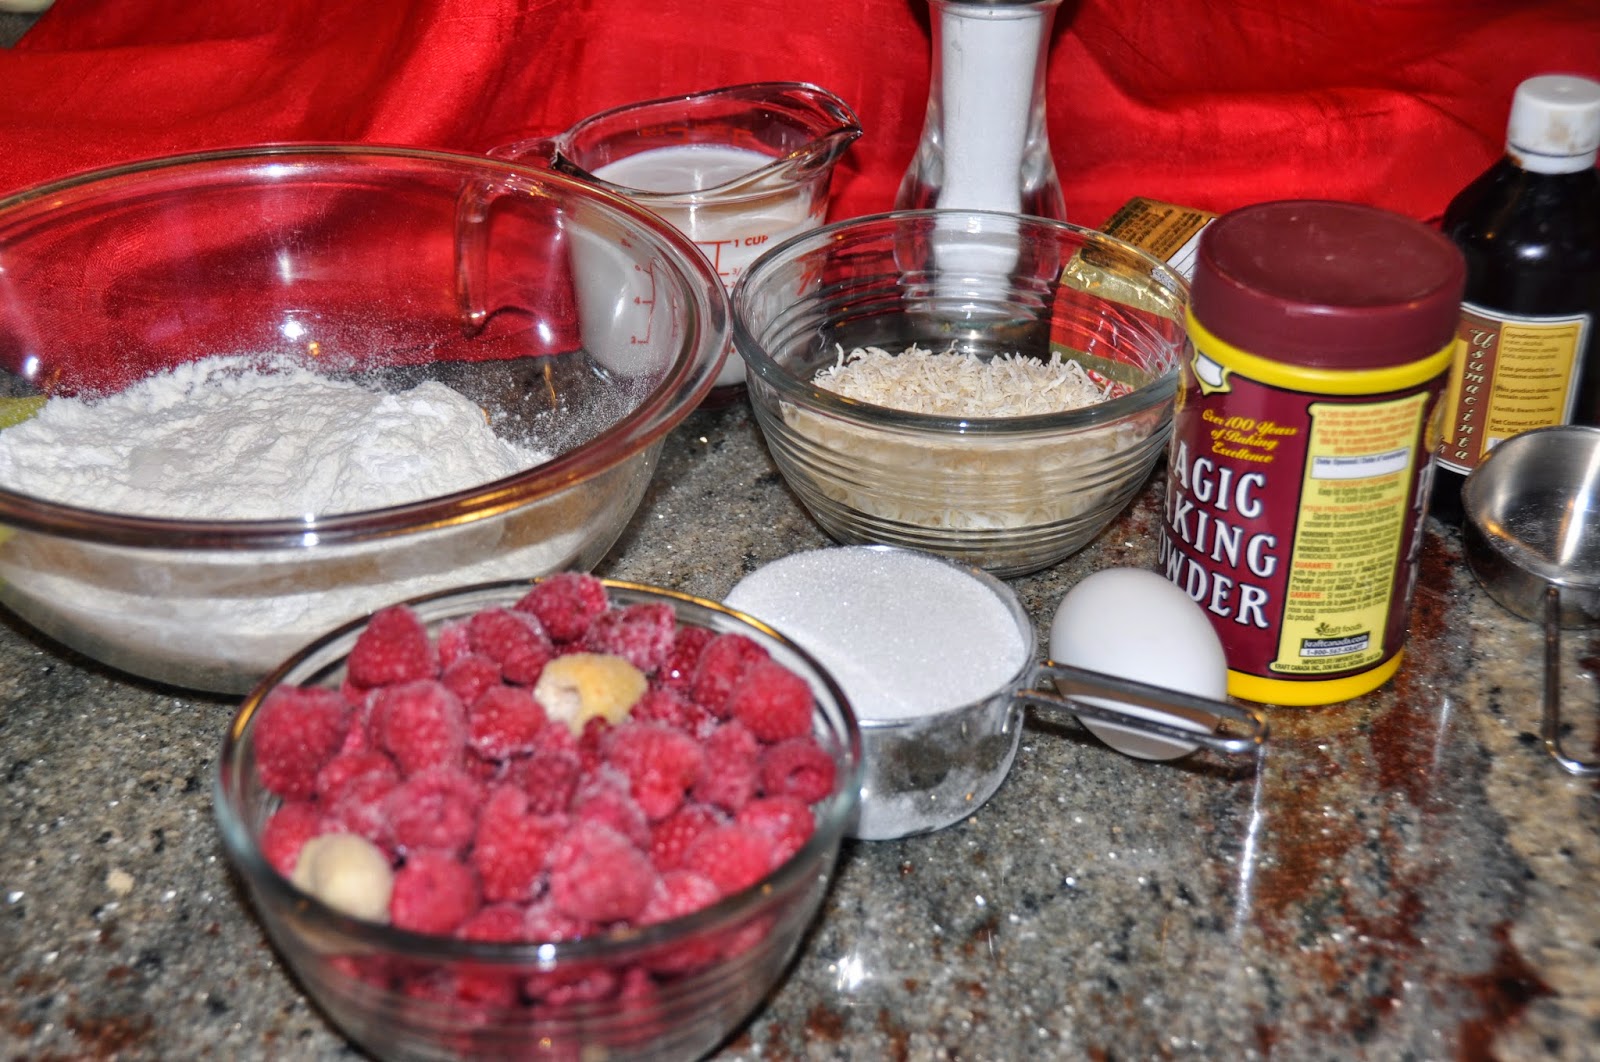
The ingredients you will need.

For the dressing....adding flavour.

The dressing combined with oil. Add some dry dill.

Dressing added, everything tossed together and into a paper bag.

The paper bag absorbs some of the oil while it sits.

Jarred and ready for sampling or giving as gifts.
DILLY SNACK MIX RECIPE
1 box Crispix or Rice Chex cereal
1 package pretzels (I like the alphabet ones)
1 box fish crackers (original)
1 box mini Ritz (plain or cheddar)
1 box Bugles
1 can mixed nuts/peanuts or your choice
Dressing:
1 package ranch powder dressing (dill works too)
3 - 4 Tablespoons dry dill weed
3/4 cup vegetable oil
Mix dressing ingredients together well and pour over cereal mixture.
Put into a large paper bag and shake.
Let sit in the paper bag for an hour - shaking and turning the bag every 15 minutes.
Pour into jars or tins and store on the counter.
Makes about 2 gallons....that is how I store mine....as you can see.
'Surround yourself with people who make you Hungry for Life,
Touch your Heart, and Nourish your Soul.'


