Saturday, July 16, 2016

Kale & Quinoa Patties

The rains have watered the plants, the sun helping to ripen and speed the growth of fruits and vegetables. This time of the year is my favourite as there is something new to see in the yard and gardens every day.
While picking raspberries I saw last year's kale seedlings are now producing beautiful leaves. I always let a plant or two go to seed, the bees love the blossoms and I get free seedlings! My favourite is the Lacinto/dinosaur kale. Freshly picked and washed it was time to create. My sister Holly showed me how to make these delicious Quinoa Kale Patties. We love to eat them with a horseradish sauce or a homemade cocktail sauce. Serve them in a bun or as a main dish for dinner along with some noodles or potatoes or rice. Make them appetizer size and serve with a few different dips. They freeze very well too. Season them up to your family's tastes, add the cheese of your choice.....create and enjoy.

Kale and Quinoa Patties

 Freshly picked kale from the garden

Kale is chopped and measured....leftover kale will become kale chips

The rest of the ingredients you will need.

Parmesan cheese tops the pile of ingredients

Quinoa is cooked and cooled

All the ingredients have been added and mixed well.

These patties will be baked

A few will be fried in some oil

So nicely browned and crispy

Kale and quinoa patties ready for sampling.

KALE & QUINOA PATTIES RECIPE

2 1/2 cup cooked quinoa
4 cups kale chopped fine
3 eggs, beaten
1 tsp salt
1/2 onion chopped fine
1/2 cup chives or green onions sliced thinly
1/2 cup Parmesan cheese shredded
2-3 cloves garlic, minced
3/4 cup bread crumbs
Oil for frying
Combine all ingredients except bread crumbs and oil.  Mix well then stir in bread crumbs Mix until well and shape 1/2 cup of the mixture per patty. Shape into nice round patties - 1/4 inch thick.
Cook in oil until both sides are golden
Optional: Bake patties at 375 for approximately 15-20 minutes, flipping over after 10 minutes.

'Never let a problem to be solved become more important than a person to be loved.'
Barbara Johnson


Tuesday, June 21, 2016

Vegetarian Chili

On a chilly 'June-uary' day Vegetarian Chili was just the thing to cook.
When the weather is cool and it is raining outside a bowl of hearty chili is just the right comfort food for the family. My family loves this chili and the recipe below makes a large batch that you can put away for those busy days when the sun comes out and you want to 'play' or spend time in the garden.
Try this recipe for your family or friends. Serve it over Kartoshnik (potato cake) or mashed potatoes.
Make it spicy or mild, add any beans of your choice - the possibilities are endless.
My boys even like it served over garlic toast.


Vegetarian Chili

The ingredients you will need.

Celery, onions and garlic chopped and ready for the pan.

Mushrooms, chopped - you can also use canned mushrooms

Onions, garlic and celery sauteeing

Mushrooms have been added to the onion, garlic and celery

Seasonings and spices

Seasonings and spices added to the mixture

the rest of the ingredients are waiting to be added to the tomato, onion mixture

Mmmmm....smelling so amazing

Serve the chili with sour cream or yogurt. Serve over some mashed potatoes
or Kartoshnik (Potato Cake)

Vegetarian Chili Recipe
2 tsp vegetable or olive oil
2 onions chopped
2 stalks celery diced
3 cloves garlic, minced
2 quarts tomatoes
1/2 cup ketchup or BBQ sauce of choice
2 cans (19 oz) kidney beans, drained
2 cans (19 oz) black beans, drained
2 cans Romano beans, drained
2 small cans baked beans in tomato sauce ( optional)
1 or 2 can canned sliced mushrooms or use fresh sliced
1 small can corn niblets, drained
1 1/2 Tablespoons chili powder, more if you like
1 1/2 teaspoons black pepper
Hot pepper flakes ( optional) if you like a spicier chili
Salt and seasoning salt to taste
Cheddar cheese (optional)

In a large Dutch oven sauté onions, garlic, celery and mushrooms in oil until onions are translucent. Add tomatoes and simmer for about 20 minutes, until thickened. Take a potato masher and mash a quarter of the beans, right in the pot.......this thickens up the Chili very nicely. Stir in the seasonings, ketchup or BBQ sauce and corn, adjust salt and pepper to taste. Bring to a simmer and simmer for another 15 minutes stirring several times. Take off stove, you can stir in some shredded cheddar cheese at this point. Serve with garlic cheese bread or over mashed potatoes Or even better serve over homemade Kartoshnik ( potato cake). A favorite of my boys. Any leftovers can be poured into sterilized jars and sealed. They will keep in the fridge until needed.

'Make your anger so expensive that no one can afford it,
and make your Happiness so cheap, everyone can get it for free.'

Monday, May 23, 2016

Sauerkraut Lesson

Ray is very proud of his sauerkraut.

Friends Ray and Trevor came over for coffee a few weeks ago and  invited to stay for lunch.
They sampled some of my homemade sauerkraut  so I told them I would give them a lesson
on sauerkraut making. Ray's smile says it all.....this is a happy man eagerly waiting for the sauerkraut to be ready for sampling....a wonderful student and friend.....next on the lesson list is baking bread.
I will have both Ray and Trevor in their kitchen up to their elbows in bread dough.


Saturday, May 14, 2016

Raspberry Ricotta Cake.....my way to say 'Thank you'

Thank you....two simple words that are used to express gratitude, appreciation and so much more. Today it is a big thank you to my neighbor Denny.  Working on my Memory Garden that I created in my son Alix's name and now adding my Mother and Father's memories to this garden. I thought it needed a little something else to 'ground' and finish off the garden. I had a dream about a bridge and thus the plans began. Talking with Denny and going over a few ideas on the type of bridge I was wanting. The end result is beautiful and I call it 'The Bridge to the Other Side'. I will continue to plant trees and plants each year in their memory as it is so very healing and beautiful. I wanted to thank Denny for the beautiful work so I made a Raspberry Ricotta Cake with my berries from the garden. I hope you try this recipe....

Raspberry Ricotta Cake

The ingredients you will need.

The batter is mixed, the berries added, ready for the oven.


The cake is baked and cooled, ready to serve.

Beautiful, fragrant Raspberry Ricotta Cake, just drizzle with a bit of cream and enjoy.

Raspberry Ricotta Cake Recipe
 cups all-purpose flour

  • 1 cup sugar
  • 2 teaspoons baking powder
  • ¾ teaspoon kosher salt
  • 3 large eggs
  •  cups ricotta
  • ½ teaspoon vanilla extract
  • ½ cup  butter, melted
  • 1 cup frozen raspberries, divided

  • Preheat oven to 350°. Line a 9”-diameter cake pan with parchment paper and lightly coat with nonstick spray. Whisk flour, sugar, baking powder, and salt in a large bowl.
  • Whisk eggs, ricotta, and vanilla in a medium bowl until smooth; fold into dry ingredients just until blended. Then fold in butter, followed by ¾ cup raspberries, taking care not to crush berries. Scrape batter into prepared pan and scatter remaining ¼ cup raspberries over top.
  • Bake cake until golden brown and a tester inserted into the center comes out clean, 50–60 minutes. Let cool at least 20 minutes before unmolding.
  • Do Ahead: Cake can be made 2 days ahead. Store tightly wrapped at room temperature.
  • "Nothing is so strong as gentleness, and nothing is so gentle as true strength."
  • ~ Ralph Sockman (1889-1970)


  • Monday, April 18, 2016

    Pam's Incredible Edibles II....The Adventure Continues

    Pam's Incredible Edibles II.....my cookbook is published and ready for sale.
    I am selling it for $12 plus shipping, if you would like a copy of my newest
    collection of vegetarian dishes, desserts and more please email me at:
    pfominoff@outlook.com.
    I have been planning this second cookbook for the last 9 years, life events had me
    put it on hold for a bit but it is finally here and ready to share - all 140 recipes!
    I will also be selling at the Doukhobor Discovery Center gift shop in Castlegar.

    Friday, April 15, 2016

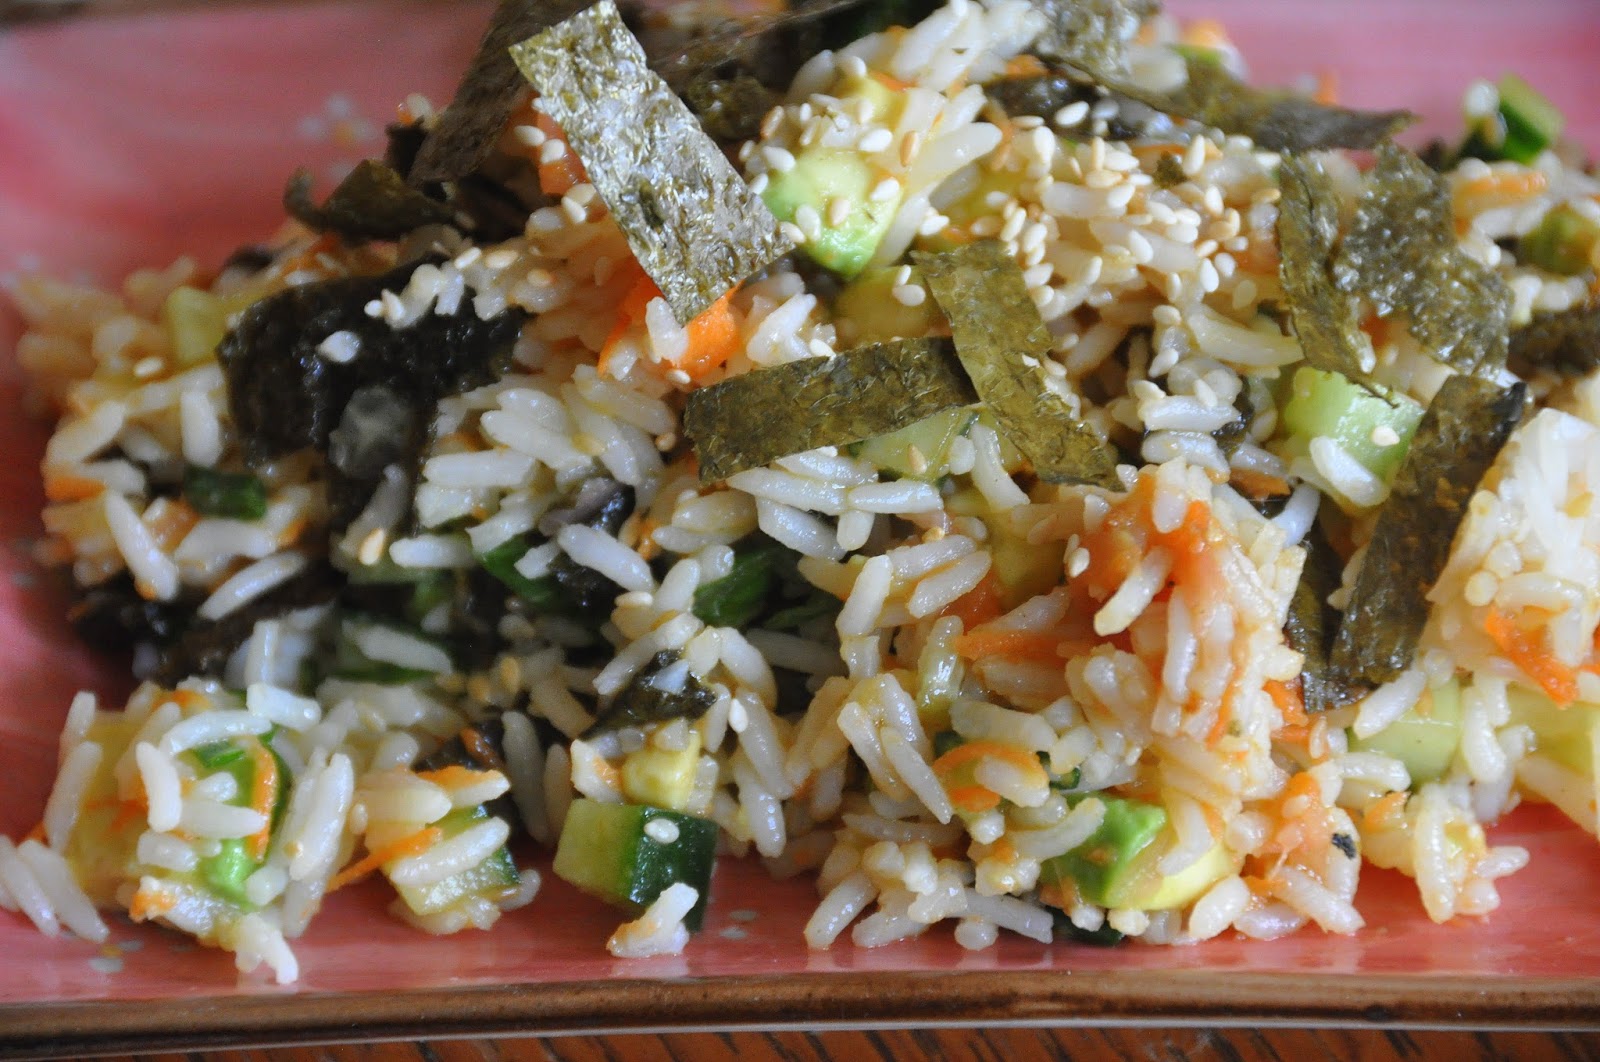
    Sushi Roll Salad.....perfect for family and friends

    Home is where the 'heart' is....home is safety, warmth and love. When a home is filled with family and friends, laughter and love - there is always food on the table. Growing up my Mother always had enough to feed anyone who happened to 'drop in' to her home. Last weekend our home was once again filled with, love, laughter and of course food. Beth and Lindsay came over for a visit and lunch last weekend and brought with them their cousin Debbie and her husband Kevin who were visiting from Calgary. Beth requested my Miso Soup for lunch (her favorite) and to serve along with the soup I made a 'Sushi Roll Salad'. A different and simple version of the sushi roll. It was the first time I had made this dish and it was a hit! I served the salad with my 'Crispy Tofu Cubes' (recipe in my new cookbook - Pam's Incredible Edibles II. I should have the book at my door this week.
    For dessert I baked a Raspberry Ricotta Cake and served it with some raspberry compote.
    This salad was such a hit with my husband Fred that I made another batch the very next day!
    This would make a great 'take along' lunch for a potluck or picnic.

    Sushi Roll Salad

    The ingredients you will need for the salad and the dressing.

    Ingredients you will needs to season the rice.


    The rice vinegar, salt and sugar ready for the rice.

    Sesame seeds are toasted and waiting to be added to the rice.

    The rice, seasoning and sesame seeds all mixed together.

    Vegetables are added to the rice/sesame mixture.

    The last of the rice vinegar mixed together.

    The dressing is mixed together into a jar, the avocado diced and lime juice added.
    Everything you need to finish this delicious salad.

    Sushi Roll Salad

    SUSHI ROLL SALAD RECIPE

    1½ cups long grain rice
    ¼ cup plus 3 tablespoons rice vinegar (not seasoned)
    ¼ cup sugar
    1½ teaspoons salt
    1 tablespoon sesame seeds
    2 tablespoons oil (I used sunflower)
    2 tablespoons finely chopped pickled ginger
    2 tablespoons thinly sliced green onions (1 or 2 green onions)
    ½ cup finely shredded carrot
    1/2 large seedless cucumber (about 1 pound), quartered lengthwise,  and sliced
    2 sheets roasted nori
    avocado
    Juice from a couple of wedges of a lime
    (Optional) 8 ounces Organic Firm Tofu made into my Crispy Tofu Cubes

    Dressing
    3 teaspoons wasabi (Japanese green horseradish) powder
    1 tablespoon hot water
    2 tablespoons cold water
    2 tablespoons soy sauce

    Wash the rice in several rinses of cold water to remove some of the starch. The water will be quite cloudy at first and become clearer as you continue to rinse it. (save this water for your plants, so many minerals etc. - your plants will love it)

    Cook the rice using your favorite method.
    I used my rice cooker with 1½ cups plus 2 tablespoons water.
    While the rice is cooking, put the 1/4 cup of rice vinegar, sugar, and salt in a small saucepan.
    Bring to a boil and cook just until the sugar is dissolved. Remove from the heat.

    Toast the sesame seeds in a small pan, stirring often, until they are golden brown.
    Remove the seeds from the pan and set aside.
    When the rice is done, put it in a large bowl and stir the vinegar/sugar/salt mixture into it.
    Allow it to cool.

    Gently stir, using kind of a folding motion so you don’t break up the rice too much, the sesame seeds, oil, ginger, green onions, carrot, cucumber, and the remaining 3 tablespoons of rice vinegar into the salad.
    (The salad can be covered and refrigerated at this point for up to a day. Bring to room temperature before continuing with the recipe.)

    Make the dressing. Stir all of the dressing ingredients together in a small bowl until well-combined.
    Cut the nori into thin strips and then cut the strips into small pieces, about 1½ – 2 inches long. Kitchen scissors probably work best for this. Stir 2/3 of the nori strips into the salad.

    Cut the avocado into small cubes and gently toss them with the lime juice.
     (This helps to keep the avocado from turning brown.)
    Gently toss the avocado, shrimp, and the dressing into the salad.

    Put the salad in a serving bowl and garnish with the remaining nori strips.
    Serve with extra wasabi, soy sauce and pickled ginger, if desired.


    'Without rain nothing grows, learn to embrace the storms of your life.'

    Wednesday, April 6, 2016

    Quinoa Herb and Cheese Pizza Crust

    Pizza is a favorite Friday night meal for our family. Making homemade pizza crust, adding your family's favorite toppings, and your tastiest tomato sauce, a perfect stay-in dinner.
    We also love quinoa, and it is a complete protein that is very quick and easy to cook and tastes amazing. Today I prepared a pizza crust made with quinoa, added in a few herbs and some cheese.
    Delicious topped with mozzarella cheese, mushrooms, sweet peppers, onion and a bit of feta cheese.
    A protein packed pizza that the family will enjoy. Hope you try it for your family or friends.

    Quinoa Herb & Cheese Pizza Crust

    The ingredients you will need for the crust.

    Toasting the quinoa in some olive oil.

    Cooking the quinoa in water.

     The herbs, baking powder, eggs and cheese will be mixed and added.

    I have prepared the pizza pan.

    The cooled quinoa mixed with the cheese.

    The eggs are beaten into the herbs and baking powder.

    All ingredients are combined well.


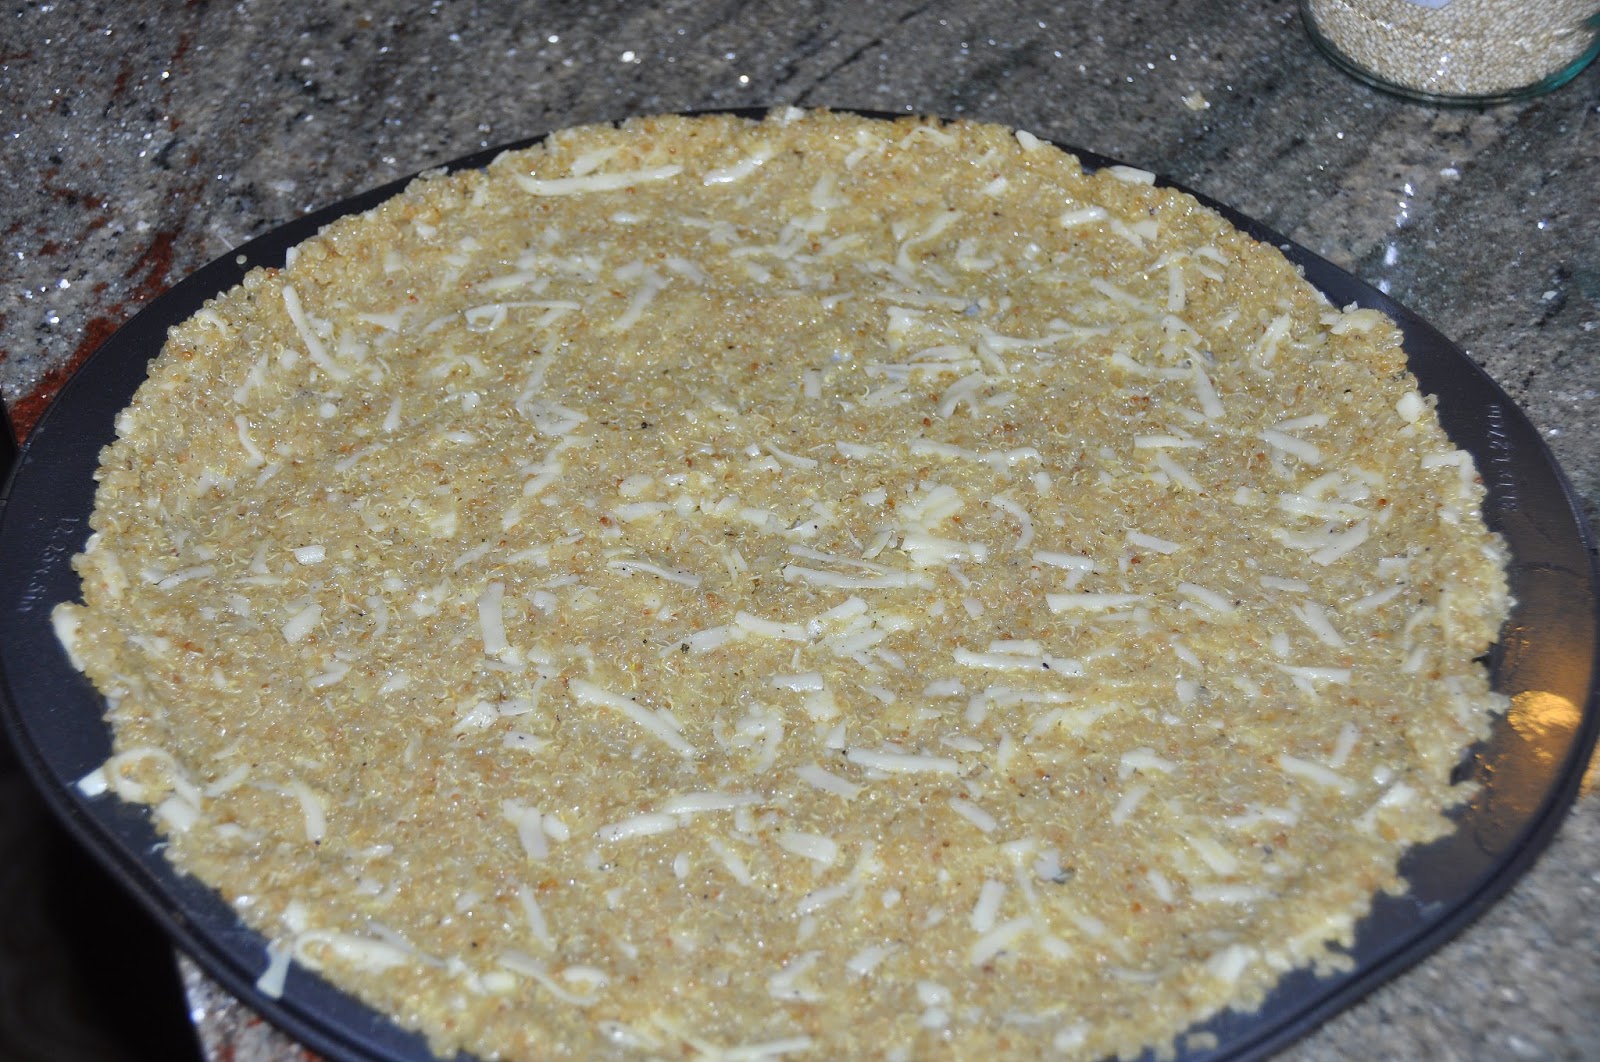
    The quinoa herb and Cheese crust is ready for the oven.

    Pizza crust is baked and looking very nice.

    For today's pizza I added some vegetables and cheese.


    So delicious, crust is crispy and holds up well in your hand....but not for long!

    Quinoa Herb and Cheese Pizza Crust Recipe

  • ½ cup quinoa
  • 3 tsp. olive oil, divided
  • 1 cup water
  • 2 large eggs
  • 1 ½ tsp. garlic salt
  • ½ tsp. dried oregano leaves
  • ½ tsp. dried basil leaves
  • ½ tsp baking powder
  • ¼ cup shredded Italian-blend cheese (pizza-blend or mozzarella would be good too.

  • Place the uncooked quinoa into a fine mesh strainer and run under cool water for about a minute until water runs clear. Shake off as much excess liquid as possible. Add the rinsed quinoa and 2 tsp. olive oil to a medium sauce pot. Turn the heat to medium high and stir occasionally for 6-7 minutes. The excess moisture will evaporate and the quinoa will begin to toast.
    Carefully add the water to the toasted quinoa and cover. Bring to a boil then reduce to a simmer. Let the quinoa cook for about 15 minutes, stirring occasionally. Remove the lid and turn the heat to low. Cook 5 more minutes, stirring occasionally (evaporating excess moisture). Transfer the cooked quinoa to a large bowl and let it cool for at least 10 minutes.
    Preheat oven to 425 degrees F.
  • Line a pizza pan with parchment paper and spray with cooking spray.
    In a small bowl, add the eggs, 1 tsp. olive oil, garlic salt, oregano, basil, and baking powder.
  • Whisk until well combined.
    Add the cheese to the quinoa. Stir to combine. Add the egg mixture to the quinoa.
  • Stir until well combined.
    Spread the quinoa dough into a ¼ inch, even layer on the parchment paper. I made cheesy bread sticks so I made a 10 x 7 inch rectangle. Bake for 18-20 minutes, edges should begin to brown.
    Top with the pizza, or garlic bread, toppings and return to the oven for 5 minutes.
    Let the pizza cool for 5 minutes before slicing.
  • 'When you help others, your own troubles aren't as heavy.
    In fact, you can fold them like a handkerchief and place them in your pocket.
    They're still there, but they're not the only thing you carry.'
    Alice Hoffman