Tuesday, November 15, 2016

Dutch Apple Pie Bites

'An apple a day keeps the Doctor away'
I love apples. They are so juicy, crispy, sweet and so good for you. I grew up on a hobby farm, my Father planted many different varieties of fruit, apples were prolific in the garden.
My Mother would make apple pies, applesauce, dried apples and fruit leather for us to enjoy throughout the fall and winter and always enough to share with family and friends.
Today I cooked with apples that were grown by my cousin Walter and his wife Vera who live beside the farm where we grew up. Thank you to Walter and Vera for sharing your beautiful apples, thank you to my sister Wendy for picking them up and for my sister Holly for bringing them all the way from Ootischenia to Gibsons. The apples are a 'common delicious' sweet and juicy. Today I made these Dutch Apple Pie Bites. Perfect for tea/coffee with family or friends.
They freeze well and will be great to serve for any festive holiday too.
Enjoy

DUTCH APPLE PIE BITES
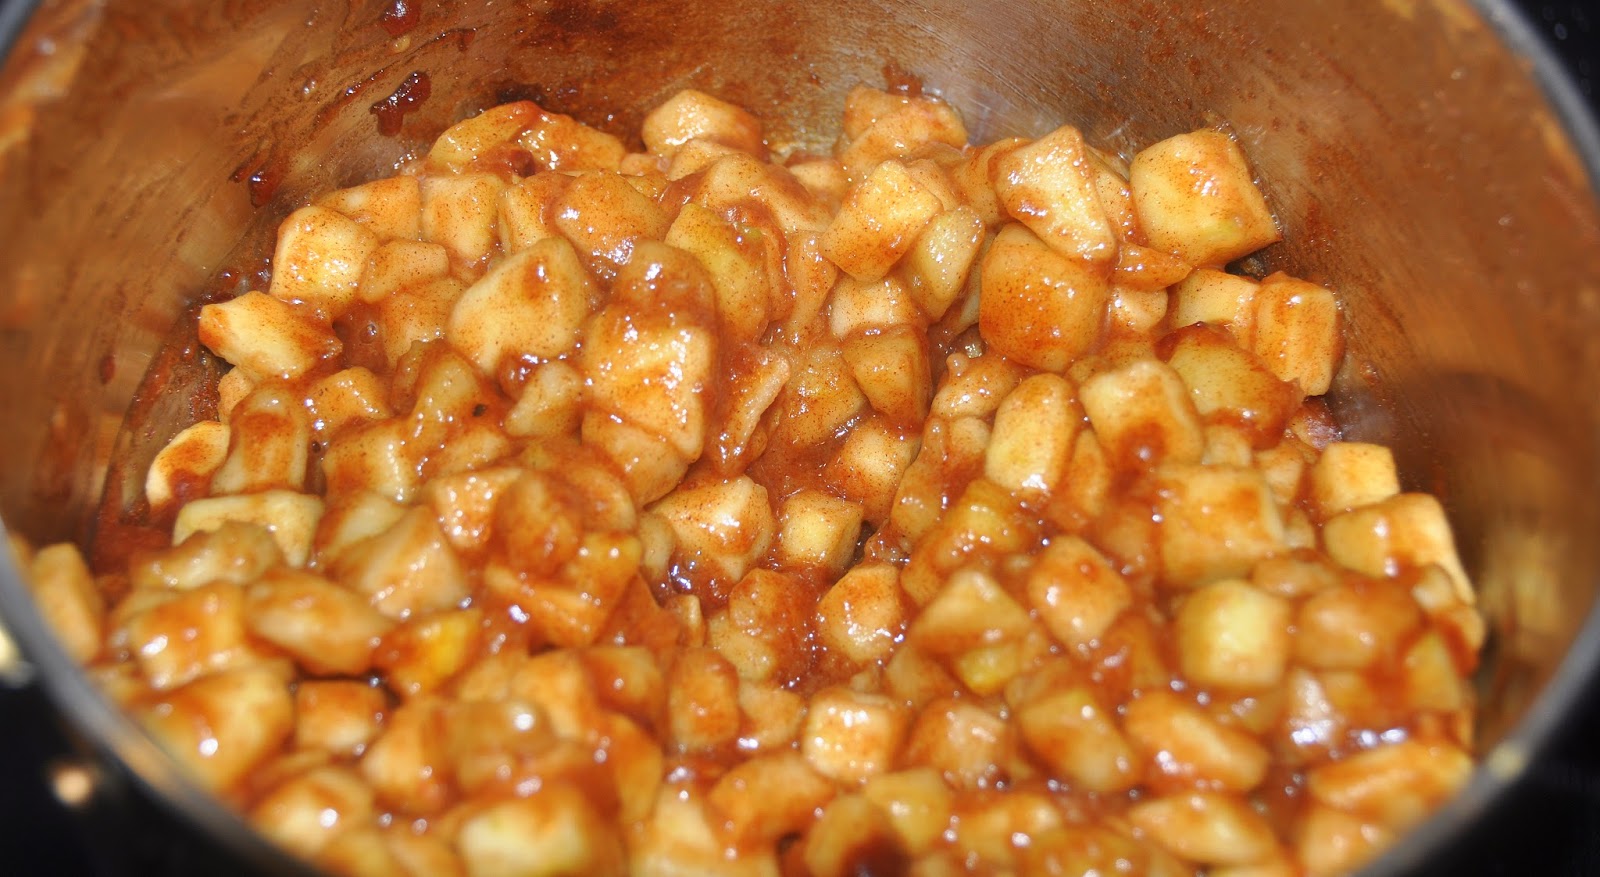

Apples diced and cooked

Streusel topping is ready

Pie dough is rolled, cut and fitted into muffin tins

Apple filling is added

Streusel topping added before baking.

Dutch Apple Pie Bites right out of the oven

Perfect for tea, coffee or a light snack

Serve with Greek Yogurt, whipped cream or ice cream

DUTCH APPLE PIE BITES RECIPE

Ingredients:
1batch of double crust pie dough (add cinnamon )
5 small  apples, peeled, cored, and diced finely
1/4 cup granulated sugar
1 teaspoon ground cinnamon
2 tablespoons lemon juice
1 tablespoon cornstarch
FOR THE STREUSEL TOPPING
2 1/4 cups all purpose flour
2/3 cup brown sugar
2/3 cup granulated sugar
2/3 cups old fashioned oats
pinch of salt
3/4 cups plus 2 tablespoons (14 tablespoons total) butter, melted

  • Preheat oven to 350 degrees. Spray the wells of a standard size muffin tin with nonstick spray. Roll out dough onto a lightly floured surface, and cut out circles about 2 inches in diameter. Gather and re-roll unused dough and cut additional circles. I used the rim of a small plastic cup.. Place the circles in the bottom of each muffin well.
  • Add the apples, sugar, cinnamon, lemon juice, and cornstarch to a medium saucepan. Cook on medium heat, stirring occasionally for about 5-10 minutes until the apples have softened slightly and the juices begin to thicken. Remove from heat.
  • Add about one tablespoon of the apple filling on top of each circle of pie dough.
  • In a medium bowl, mix flour, brown sugar, granulated sugar, oats, and salt. Add melted butter and mix until well incorporated.
  • Add a heaping tablespoon of the streusel topping to each muffin well, and gently pat it down over the apples.
  • Bake for 17-19 minutes. **Allow the apple pie cookies to cool in the muffin tin for at least 10-15 minutes before removing. Cool on a wire rack.
  • "Though we all have the fear & the seeds of anger within us, we must learn not to water those seeds and instead nourish our positive qualities--those of compassion, understanding, and loving kindness."
    ~ Thich Nhat Hahn

Sunday, November 6, 2016

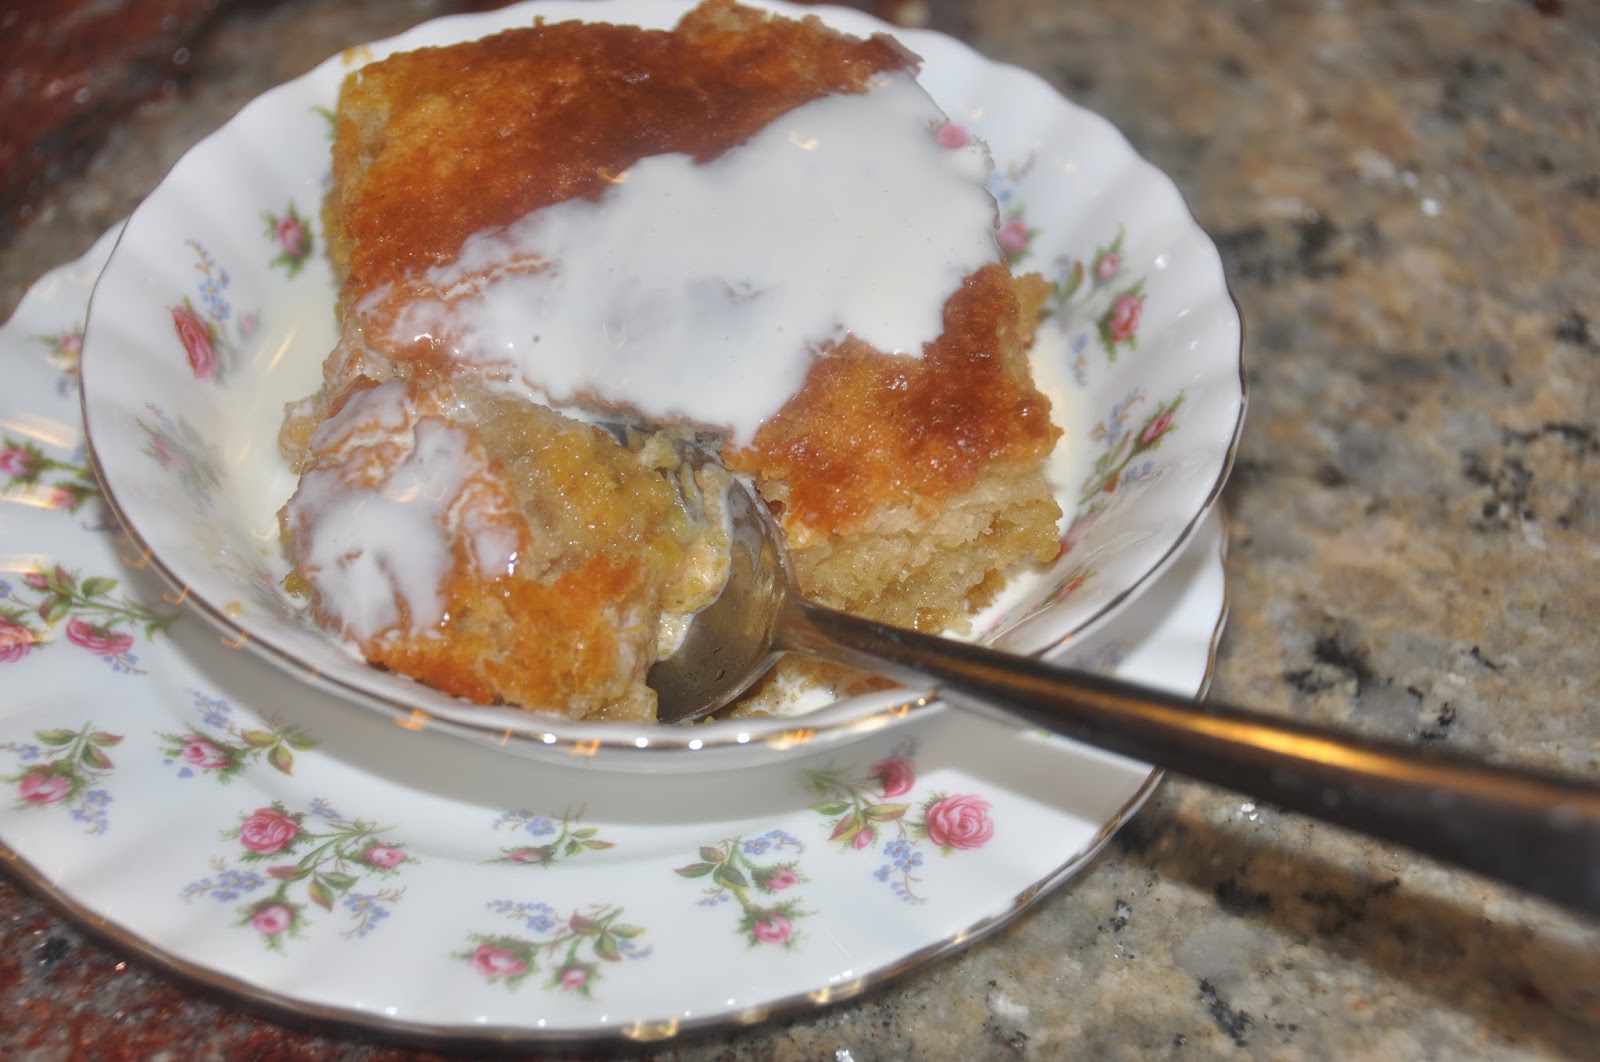
Pumpkin Cobbler

Pumpkin a beautiful vegetable to grow, so many different varieties too. If you are a fan of pumpkin pie but not a fan of making a pie crust, this is the recipe for you. Simple to put together, makes a generous amount and so very delicious! My son Rick loves pumpkin pie, my daughter Anastasia as well but she is not a fan of pie crust, this dessert is perfect for her and my son says it is just as good as pumpkin pie! Today I used butternut squash but any pumpkin will do.
Enjoy.

PUMPKIN COBBLER


Butter is in the pan ready to melt in the preheating oven

Pumpkin mixture

Batter ingredients are mixed together

Butter is melted, batter is added on top

The pumpkin mixture is spooned over the batter

Pumpkin Cobbler is baked and sampled


 Served with some cream or whipped cream


PUMPKIN COBBLER RECIPE

Filling: 2 eggs, beaten
1 cup evaporated milk
3 cups cooked mashed pumpkin or butternut squash
3/4 cup white sugar
½ cup dark brown sugar
1 tablespoon all-purpose flour
1 teaspoon cinnamon
¼ teaspoon ginger
¼ teaspoon cloves
¼ teaspoon nutmeg
½ teaspoon salt

Crust:
½ cup butter
1 cup all-purpose flour
3/4 cup white sugar
4 teaspoons baking powder
½ teaspoon salt
1 cup milk
1 teaspoon vanilla

Preheat oven to 350 F
In a large bowl, combine eggs, milk and pumpkin; add the rest of the filling ingredients,
mix well and set aside.
Prepare the crust:
Melt the butter in a 9x11-inch baking pan.
In another bowl, mix the remaining crust ingredients until just combined
and pour into baking pan on top of the melted butter.


Spoon or slowly pour the filling evenly over the crust batter in the pan.
Do not stir. 

Bake 1 hour.   Serves 8-10
 "Always keep the magic of 'belief ' alive in your heart."💖

Friday, October 21, 2016

Cheesy Corn and Pepper Squares

When friends send you peppers from their very own garden....travelling from Ontario to British Columbia, via Canada Post......it can be done.......you smile and get those creative ideas flowing...and create a beautiful dish. Thank you Steve for sharing your delicious green and hot peppers with me. When something is grown from seed, with love and care the taste is unbelievable. I opened my fridge and see these beautiful peppers and knew that I had to make these Cheesy Corn and Pepper Squares for my family. Easy to prepare, not many ingredients and so very tasty! Add a side salad or steamed vegetables and you have a filling meal.

Cheesy Corn and Pepper Squares

The ingredients you will need.

All ingredients mixed together and into a baking dish, ready for the oven

Baked and ready to slice and sample

Hearty, full of flavour and so simple to make.

CHEESY CORN AND PEPPER SQUARES RECIPE
Serves: 8
Ingredients:
3 cups frozen corn
1 medium tomato - chopped (or enough cherry tomatoes)
1 medium green pepper - chopped
2 jalapeno pepper - seeds removed, finely diced
1.5 cup milk
5 tablespoons butter - melted
5 eggs - whisked
6 tablespoons flour
1 cup shredded cheddar cheese
1 teaspoon salt
Directions:
1. Preheat oven to 350 degrees.
2. In a 8x12 casserole baking dish add all the ingredients.
3. Stir with a spoon to mix everything up.
4. Bake for 50 minutes.
5. Let sit on counter for 5 minutes to set.
"The ideas that have lighted my way have been kindness, beauty and truth."
- Albert Einstein 


Tuesday, October 18, 2016

MUSHROOM BULGAR BURGER........ delicious and nutritious

Mushrooms - roasted, fried with onions and potatoes, sliced raw into salads, added to soups......
....there are many ways to include mushrooms in your meals.
The benefits of mushrooms are huge. They have a great deal of nutritional value, are full of micronutrients, and are considered to be a Super Food.
 Mushrooms are low in carbohydrates and high in fiber.
They are a good source of B-vitamins (riboflavin, pantothenic acid, and niacin), iron, and selenium.

Our family loves mushrooms, as a child my parents took my sisters and brother along with them into the mountains in the West Kootenay to search for wild mushrooms in the Spring late Summer and in the Fall. These spots were always kept 'in the family' to return to year after year. My Mother then processed them into pickled mushrooms and many, many containers of frozen or canned mushrooms to be eaten throughout the year. Today's recipe includes shitake and brown mushrooms, a hearty burger that will satisfy even a 'meat eater'. Serve with our favorite sauce, in a bun or just on the side along with a crispy, tangy coleslaw. Our favorite is homemade horseradish sauce.
This recipe I have adapted from one that Chef Michael Smith prepared.

 MUSHROOM BULGAR BURGER
  
The ingredients you will need

Onions and garlic ready to be cooked

Shitake and Brown mushrooms sliced and ready for the pan

The rest of the ingredients for the Mushroom Bulgar Burgers

The brown rice and bulgar are cooked with the mushrooms, onion and garlic

Mushroom mixture cooling to room temperature before the rest of the ingredients are added

All the ingredients have been blended in a food processor
and have been shaped into patties.

A delicious, nutrition burger, serve in a bun or on the side with sauce.

MUSHROOM BULGAR BURGER RECIPE

YIELD: 6 LARGE OR 8 SMALL BURGERS
Ingredients
2 tablespoons any vegetable oil
1/2 pound fresh shiitake mushrooms, stems removed and sliced
1/2 pound small brown mushrooms, sliced
2 onions, chopped
4 cloves garlic, minced
2 cups water
1 cup bulgur wheat
1 cup brown rice
4 ounces (1/2 block) firm tofu
2 tablespoons soy sauce
2 eggs
2 tablespoons miso paste
1 cup breadcrumbs
1 19 ounce can black beans, drained and rinsed
1 tablespoon minced fresh thyme or 2 teaspoons dried
salt and freshly ground pepper to taste
Method:
Splash the oil into a saucepan over medium-high heat. Add the mushrooms, onions and garlic. Sauté until the mushrooms lose their moisture and the onions caramelize, about 20 minutes. This step is one of the keys to the mixture; it is important to cook out as much moisture as possible so the burger will hold together.
Add the water, bulgur, brown rice and soy sauce. Cover with a tight-fitting lid and cook over low heat until the bulgur is tender and has absorbed all the liquid, about 20 minutes.
Pour the mixture onto a plate or tray and let it cool to room temperature.
When cool, transfer the bulgur-mushroom mixture into the bowl of your food processor. Add the eggs, miso paste, breadcrumbs, black beans, tofu, thyme and salt and pepper. Purée until smooth.
Form the mixture into evenly shaped patties about 1 inch (2.5 cm) thick. Refrigerate until firm, about 1 hour.
Preheat your barbecue on its highest setting.
Lightly brush the burgers with oil and grill until they are cooked through and caramelized a bit. Alternatively, you may pan sear them in a lightly oiled preheated pan or simply bake them at 400 °F (200 °C). Enjoy with your favourite burger toppings.
~One day my face will show that I have loved and lost
That I have frowned and fought
That I have yearned and cried

That I have celebrated and smiled
My face will show that I have lived and it mattered to me~
Now I understand what true beauty really is. You feel it, you touch it, you see it, and you live it. You see it in your face, your feel it within your heart and it burns within your soul.

Monday, September 19, 2016

Yellow Plum Bars

These Yellow Plum Bars were the dessert for the visit with our friends Beth and Lindsay.
With the many plums that were given to me I made Plum Jam, Plum Puree and with the puree I baked these Yellow Plum Bars. A delicious way to use up some of the juicy ripe plums. A very elegant dessert to serve up for friends or family. Enjoy.

Yellow Plum Bars

The ingredients you will need. (the jar of Plum Puree made ahead)

Butter is cubed and ready to be cut in to make the pastry.

Dry ingredients for the Yellow Plum filling

Eggs and milk are mixed in

Yellow Plum filling ready to be poured onto the crust

Yellow Plum Bars baked and ready to cool and slice.


Yellow Plum Bars ready to be sampled.

YELLOW PLUM BARS RECIPE
1 3/4 cups (430 mL) sifted all-purpose flour
1/4 cup (60 mL) cornstarch
2/3 cup (160 mL) icing sugar
1 cup (250 mL) cold butter, cubed
4 farm fresh eggs
1 1/2 cups (375 mL) sugar
1 teaspoon (5 mL) baking powder
1/4 cup (60 mL) all-purpose flour
1 cup (250 mL) yellow plum puree
icing sugar for dusting
Preheat oven to 350F (175 C). Grease a 9×13 inch pan. In a medium bowl, stir together flour, cornstarch and icing sugar. Cut in the butter with a pastry cutter or two knives. Press into the bottom of the prepared pan. Bake in the preheated oven for 20 minutes or until edges begin to turn golden.
In a large bowl, beat eggs until light. Whisk together the sugar, baking powder and flour. Whisk the sugar mixture into the eggs. Finally, stir in the plum puree. Pour over the prepared crust and return to the oven. Bake for an additional 30 minutes or until bars are set. Allow to cool completely before dusting with icing sugar. Cut into bars and enjoy. Makes 24 squares.

YELLOW PLUM PUREE RECIPE
 6 yellow plums, pitted and quartered
¼ cup (60 mL) sugar
2 tablespoons (30 mL) honey

Add plums, sugar and honey to a saucepan and bring to a boil over medium heat. Reduce to a simmer and cook for 5 minutes or until plums are soft

"The only meaningful thing we can offer each other is Love.
Not advice, no questions about our choices, not suggestions for the future, just Love."

Glennon Doyle Melton


Saturday, September 17, 2016

Quinoa Bean Patties with Roasted Red Pepper Sauce

September brings the end of summer, the garden is slowly winding down - it too needs to rest after a productive summer. Family and friends are a precious jewel for us and we enjoyed  a very busy summer with both. We enjoyed a lovely catch up visit with friends Beth and Lindsay. Perhaps their last visit for a while as they get ready to start the next chapter of their life back home in Grand Forks after many years of living in Vancouver. Our door is always open and the table set  for anyone who comes to visit (something my Mother always believed in). Today I prepared some Quinoa Bean Patties topped with a roasted red pepper sauce, served with homemade hash browns and my favourite tomato, cucumber and onion salad as well as a salad made with cottage cheese ( from the Viking Hudderite Colony)..that included cucumber, tomato and sweet onion, pulled together with a bit of cream..... just like Mom used to make. We will top off our visit with another new recipe - Yellow Plum Bars, with friends Tina and Geoff sharing their bounty of beautiful yellow plums this recipe came together very nicely. First I made some Yellow Plum Puree and jarred it, then with this Puree began the makings of a beautiful sweet treat. A wonderful way to spend a sunny Sunday.

Quinoa Bean Patties with Roasted Red Pepper Sauce


The ingredients you will need for the Quinoa Bean Patties.

Bean, Eggs and herbs

Quinoa mixed into the egg mixture.

Mixture shaped into balls, then pressed into patties.

Ingredients for the Roasted Red Pepper Sauce.

The peppers, onions and parsley.

Onions sautéed in olive oil.


The rest of the sauce ingredients added.

Basil is mixed in.

Roasted Red Pepper Sauce blended and ready for the patties.

Add a salad and you have a complete meal.

Quinoa Bean Patties with Roasted Red Pepper Sauce Recipe
For the roasted red pepper sauce:
  • 1 Tbsp. olive oil
  • 1/2 cup onion, chopped
  • 1 cup jarred, roasted red pepper, chopped
  • 1/2 cup vegetable broth
  • 1/4 cup plain coconut or almond milk
  • 1 Tbsp. fresh basil leaves
For the quinoa patties:
  • 1 cup quinoa, rinsed
  • 3 eggs
  • 1 Tbsp. grated Parmesan cheese
  • 1 Tbsp. parsley, chopped
  • 1 Tbsp. green onions, chopped fine
  • 1 tsp. hot pepper sauce
  • 1/8 tsp. salt
  • 1 15-ounce can white beans, drained and rinsed and mashed lightly with a fork
  • 1/4 cup whole grain bread crumbs
  • 2 Tbsp. olive oil


To prepare the quinoa cakes: Rinse the quinoa under cold running water. Place the quinoa in a medium saucepan and cover with 2 cups cold water. Bring to a boil and immediately reduce to a simmer. Cover with the lid slightly ajar and continue to cook over low heat for 15 to 20 minutes, or until the quinoa is puffed and you see a little white ring release from around the quinoa. Remove from the heat and let cool to room temperature and set aside. 

In a large bowl place the eggs, parsley, green onions, salt and hot pepper sauce. Beat lightly with a fork. Add the lightly mashed beans, bread crumbs and quinoa. Stir to combine with a wooden spoon. The mixture will be a little sticky, shape into balls then flatten into patties 1/4 inch thick. Heat a nonstick skillet on medium heat with 2 Tbsp. of olive oil. Fry the cakes, in batches, until crispy on the outside. Flip the cakes and crisp the other side.  Serve with a salad or vegetables.


To prepare the roasted red pepper sauce: Heat the olive oil over medium heat in a heavy-bottomed sauce pot. Add the onion and cook for 3 minutes or until translucent. Add the roasted red pepper, vegetable broth and coconut or almond milk. Simmer for 10 minutes and add the fresh basil. Cook for 1 minute and then transfer everything to a blender and blend on high until creamy. Keep warm.

 "Don’t you know yet? It is your light that lights the world." ~ Rumi